 If you are having a summer BBQ or party this is a fantastic and inexpensive decoration you can make with the kids to hang from the trees or as a wall garland. Once you know how to make a tissue paper pom pom there are endless possibilities, this is a very addictive paper craft and even the most uncraftiest person will find this nice and easy. This is a craft that all the family can get involved in and enjoy.
What you need:
 Coloured Tissue Paper
Brown Craft Paper/Brown Paper bag
Floral Wire
Sticky Tape
Coloured Twine/String
Stapler
Method:
- First you need to make your Ice Cream Tissue Pom Pom Flowers.
- Count out six sheets of tissue paper and cut into _ Size.
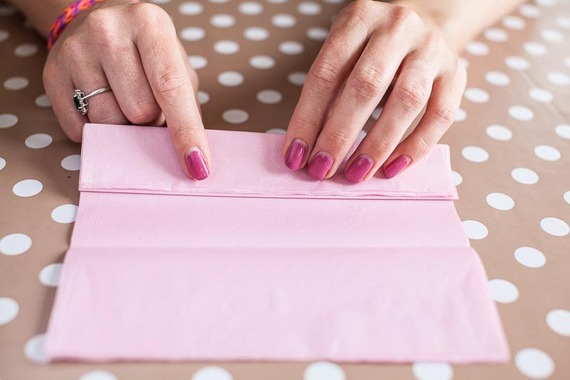
- Next begin folding your tissue paper accordion style roughly about 1 ½-2 inches wide.
- Get a piece of floral or garden wire and tie it around the centre.
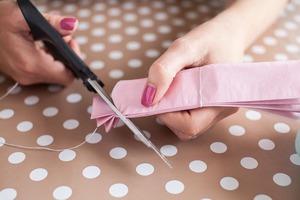
- Cut a petal shape on either end of the tissue pom pom.
- Next begin separating the layers of tissue one by one pulling them gently so you don’t rip the paper.
-
Once you have finished one side you will see the flower shape coming together.
- Flip the pom pom over and do the exact same thing on the other side
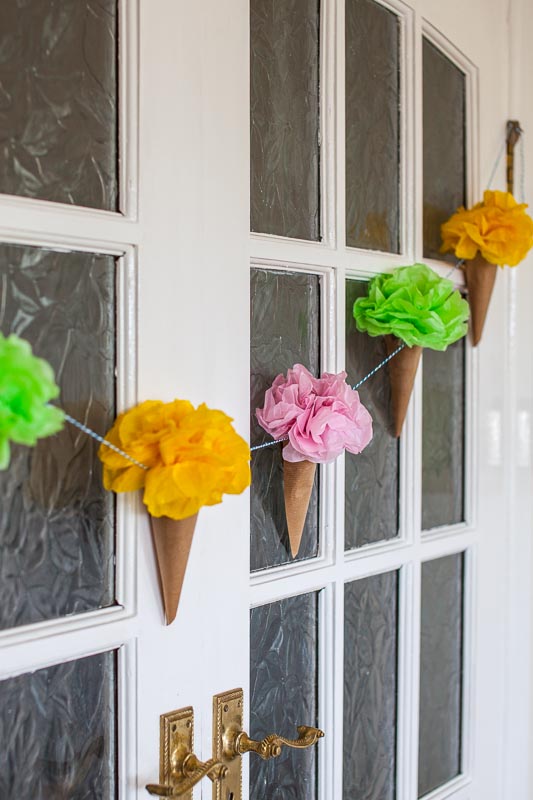
- Take a piece of brown craft paper and roll it into a cone shape.
- Pop your tissue flower on-top of the cone and use your scissors to cut the sample cone shape to the correct size.
- Now using your sample cone cut out 8-10 replica cones from the brown paper.
- Use a stapler to secure the cones on place.
- Once you have all your flowers and cones made, place them out of the table in the colour order of your choice and begin threading some coloured twine through the middle of the flowers, adjusting the distance between each one as you go.
- Once you are happy with the spacing, attach each flower to each cone using sticky tape.
 Once you have finished one side you will see the flower shape coming together.
Tutorial from Ali Coghlan at CrafTea Parties