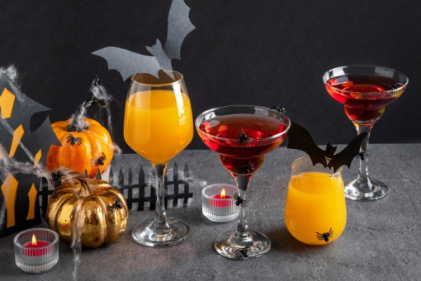
With just a day to go to Halloween and the kids under your feet this midterm looking to be kept busy, the experts at Colourtrend have put together a fun pumpkin painting activity that is set to be fun for all the family and a colourful take on what you can do with pumpkins!
Whilst classic carved pumpkins look great, painted pumpkins allow you to get creative and can add a unique touch to your home. Colourtrend have put together a simple ‘how to’ help you create your very own set of spook-tacular pumpkins. This is a fun way to repurpose your leftover paint or sample pots. Get your little ones involved or create your own intricate designs in this activity and get creative with Colourtrend this Halloween.
What you will need:
This activity requires only a handful of tools, many of which you will already have at home:
- Your leftover Colourtrend paint or sample pots.
- Your desired brush or brushes- we recommend any artist brushes you may have, this will allow you to achieve precision and accuracy for tricky designs.
- Pumpkins and gourds for painting- we suggest mixing and matching between all shapes and sizes of pumpkins and gourds for a perfectly imperfect look.
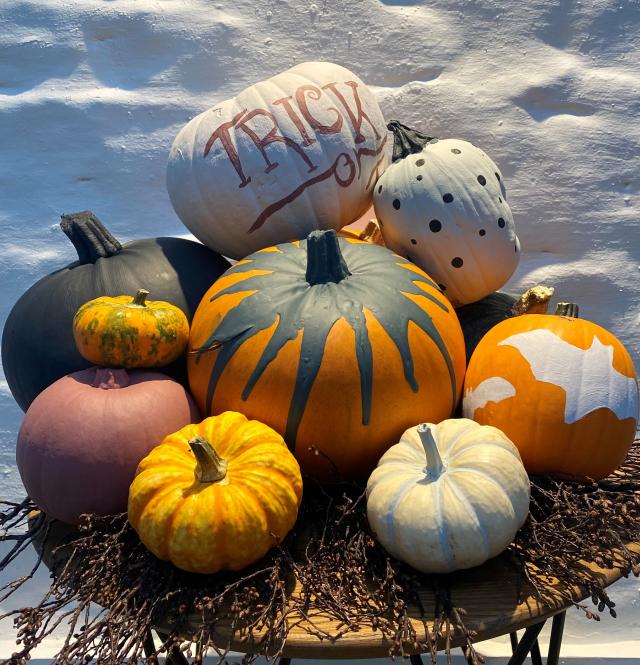
- An idea for your pumpkin designs- to help inspire you we have shown our own collection of pumpkin designs below.
Design Ideas:
- Paint Drips (shown above in Profound): This design can be simply achieved by applying a generous amount of paint to the top of the pumpkin and allowing to drip down the sides.
- Polka Dots (shown above in Silk Seal and Dressage): This design can be achieved by painting the pumpkin all over in one colour and allowing to dry. The polka dots can then be applied by using the end of a paint brush to create uniform dots.
- Bat Design (shown above in Sweet Jar): For this, we would recommend tracing out the outline of a bat from a printed image using a pencil. You can then fill in the shape with your desired paint colour.
- Solid colour (shown above in Pink Chocolate and Dressage): Paint your pumpkin in one solid colour, including the stalk, to add a strong colour to your pumpkin arrangement.
- Trick or Treat (Shown above in Sweet Jar and Pink Chocolate): Paint your pumpkin in a solid colour and allow to dry. We suggest free hand painting the Trick or Treat lettering to give your pumpkin a rustic feel.
Method:
Firstly, think about the design or pattern you would like to paint on each pumpkin. It can be helpful here consider the placement of your design on the pumpkin, think about the size and shape of the pumpkin and how it will sit amongst your other pumpkins and decorations.
In advance of painting your pumpkin, make sure the surface is clean.
Trace out your design lightly with a pencil. This will help you with more intricate designs. For more playful and abstract designs, we recommend free handing the design and applying the paint directly for an effortlessly fun look.
Apply your first coat of paint in your desired design. Allow the paint to dry for approx. 1-2 hours and re-apply a second coat of paint.
Once your paint is fully dry, arrange your pumpkins and gourds together for a fang-tastic seasonal look.
Colourtrend’s Historic Collection is available from select stockists nationwide and online at www.colourtrend.ie.