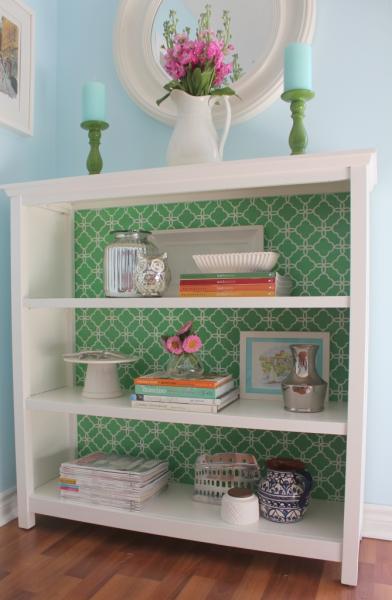
 This DIY bookcase makeover is super easy to do and can spruce up your shelves in mere minutes.
What you'll need:
Stencil - of your choice
Spray adhesive (semi-permanent)
Paint
High density foam roller
Artist brush
Paper towel
Hair dryer
1/4 inch white hardboard
Fabric
Glue gun
What you'll need to do:
1. Remove the back of the bookcase.
2. Spray the stencil with the adhesive and place carefully onto surface, making sure it is centred and even.
3. Apply paint to roller, then remove any access by rolling it on paper towel.
4. Roll paint over stencil, making sure to cover it evenly. If you want the paint to dry quickly, use a hair dryer on a cool setting. Then place the stencil over the next area, making sure you overlap the previous one. This ensures that it will be straight.
5. Let the paint dry then touch up any areas with a small artist brush.
6. If you would prefer to cover the back of the shelves with the fabric panels then simply get 1/4 white hardboard cut to size and cover with fabric. Glue gun the fabric on the back once you centred the pattern. You can simply slide it in place or add some double sided velcro or tape to the back. This option also works well with wallpaper.
Image via Pinterest.


